Small hole drilling can be easy!
Here are the steps I like to use for the most successful micro-hole drilling process. It can feel a bit tedious at times to ensure each tool is cutting correctly. These results have been proven many times. This has been a real "art" in the past even for experienced machinists. Perfect Zero® alignment makes the process much easier. It also scales your employees abilities and allows for less experienced operators to make this technical process work.
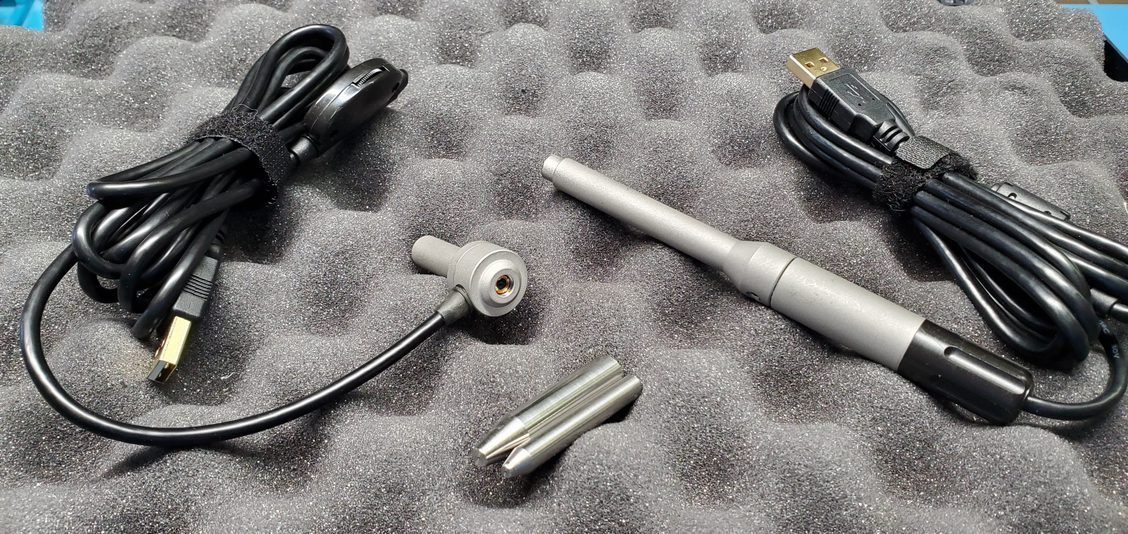
Swiss and CNC Alignment!
Perfect Zero® is a camera and software system that simplifies tool alignment and gives us abilities that we have never had before. Tool position exactly where the tool is mounted is key. We have cameras to fit even the smallest 4mm swiss machines.
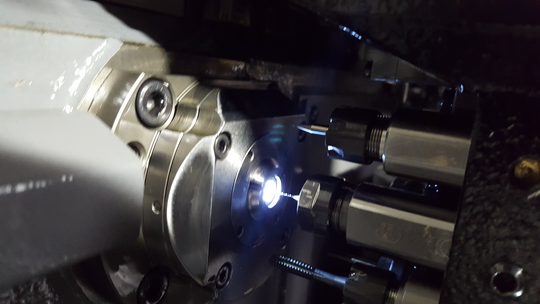
Positionally Align Tools
Tooling must be within 1% for successful hole drilling. As the tool gets smaller it
becomes
even more important. Perfect Zero® gives you the ability to look at the tool mounted in
your
machine exactly where it will cut on your part.
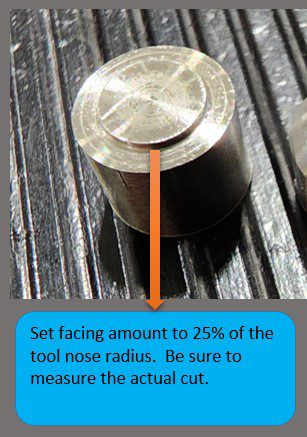
Facing Amount
The amount you face is very critical to making this work. It will also ensure that the
setup
stays capable into production
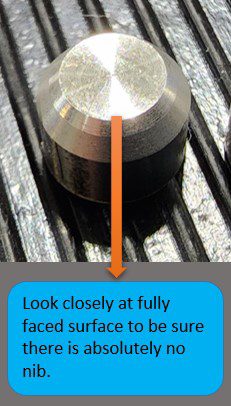
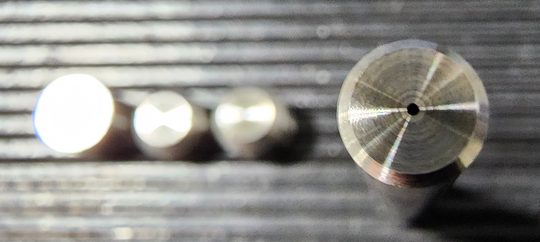
Face Off Quality
Run the face-off in your program. Cut off at least a 1/4" of material and check with
magnification. This must be smooth with as little surface interruption as possible.
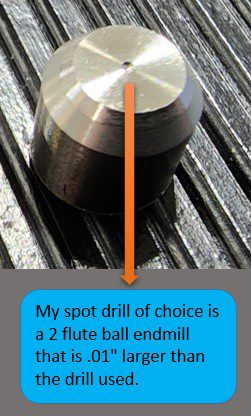
First ID Tool
There are many successful ways to start the ID work. I prefer a pilot drill that is
1.5xD.
These cost a bit more than most tools yet are well worth it. More economical is a ball
end
mill with a very small peck cycle. I generally find in most materials .001 works well.
Too
must will certainly chip the tool out. Different depths of the spot can be applied.
.005-.015" works the best.
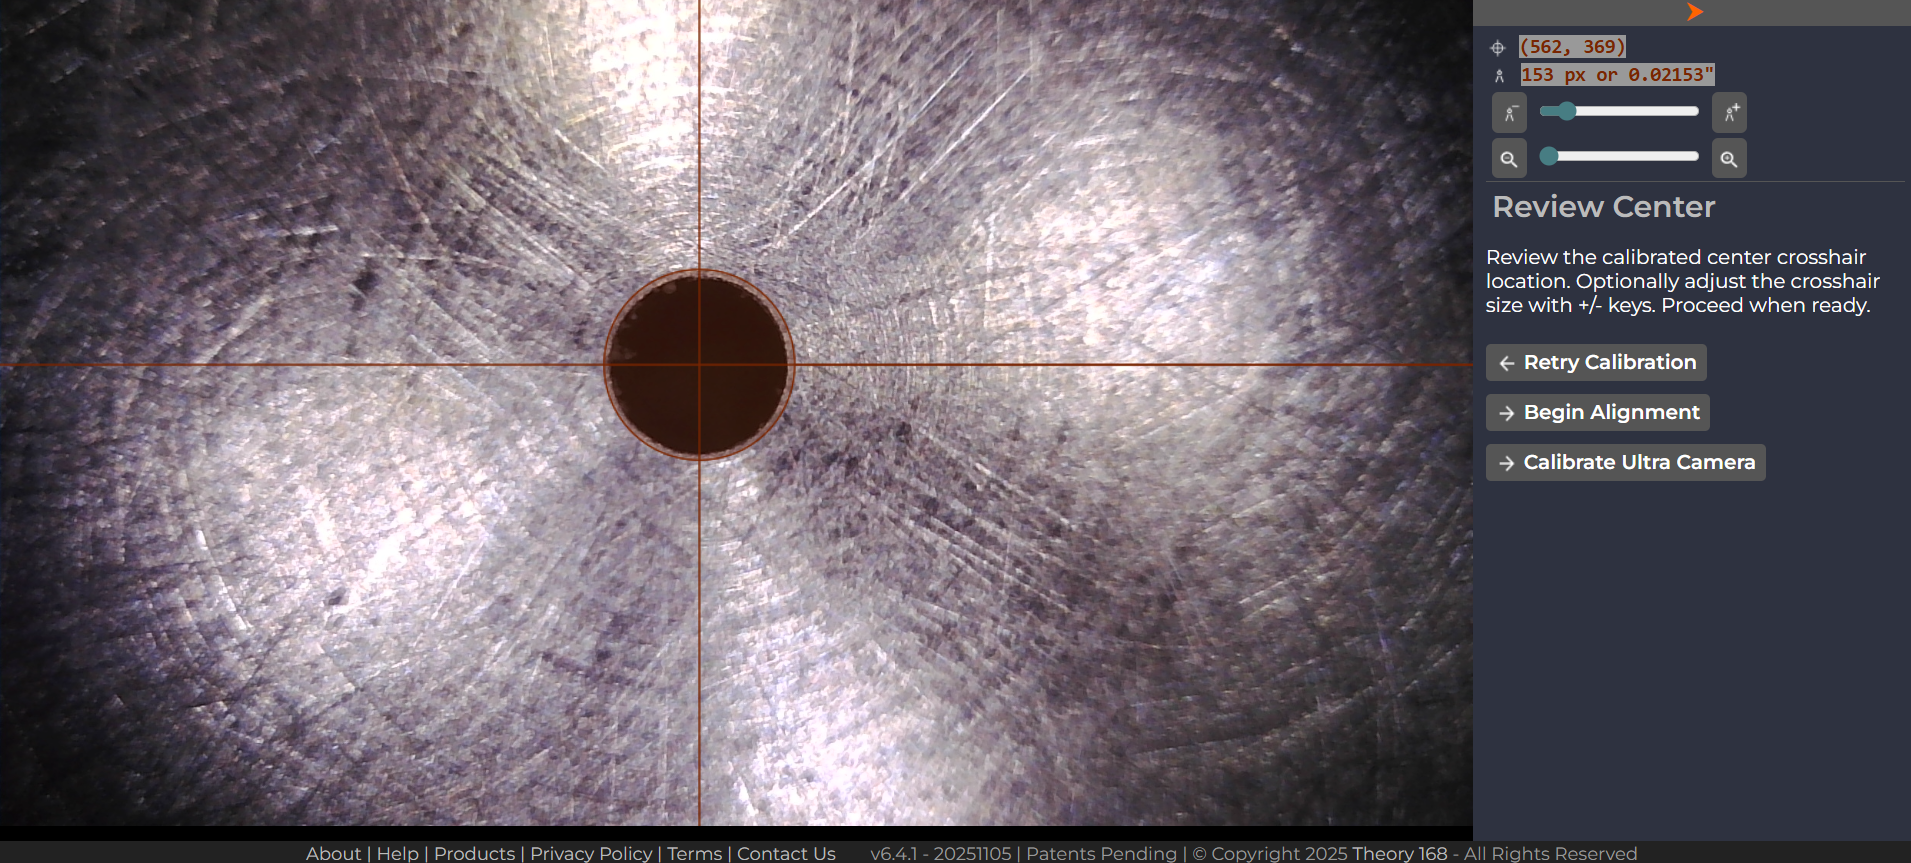
First ID Tool
The pilot drill or spot must be exactly on the centerline to work properly. Check and
re-check.
If using a pilot, run only the first .005 depth of cut to check for free machining
indicators such as chatter and material getting pushed around versus sheared. And burs
at
this stage is a sign that you have problems. Most likely misalignment which in turn
means
the tool is not shearing the material.
Longer Tool Life
Ran this process many times and most recently have over 1000 parts in 303 stainless and
still going strong. As the tools start to wear the hole feature will start to drift.
Change
the tools and reset by going through the face-off and check the spot over again. Also,
look
closely at the tooling to see wear trends. Keep in mind tools chipping out may happen
after
the first time it machines the part. If so, there is too much pressure. Back off pecks
and
or feed rates. Typically I like to use .0003" IPR or less for the feed and 25% of the
diameter for the peck.
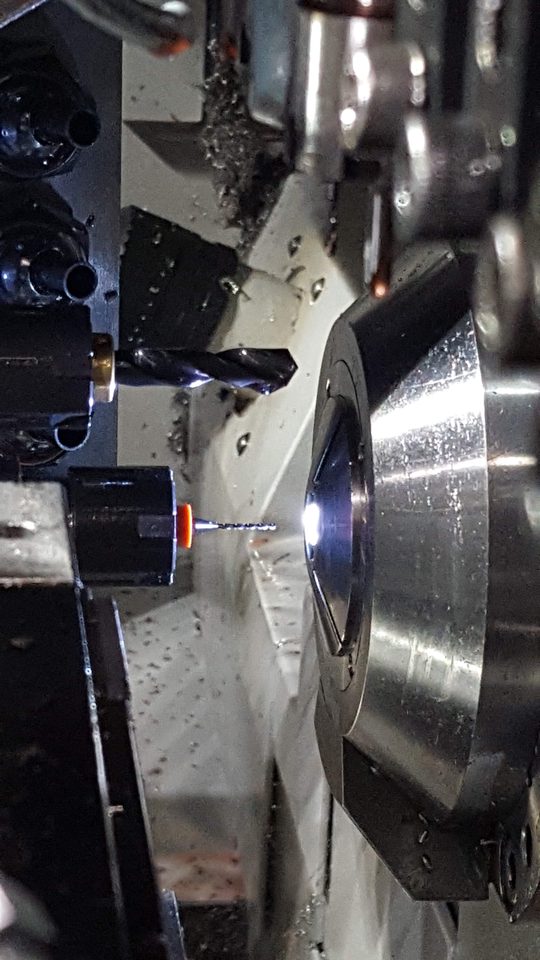
Start To Drill
Only run each tool .005" deeper than the last tool. Then cut off the part and check
under
magnification. This is the easiest way to be sure there are no issues. If there is any
chatter, tool wobble, or anything that does not look right. Start the process over.